Upload single tokens
Upload single tokens to your project using the User Interface
After you created your project you now want to add tokens to it, this can be done by uplading files to your project. This topic explains how to use the single token upload in the NMKR Studio User Interface. If you want to upload a higher number of tokens in bulk, please use the bulk upload via SFTP.
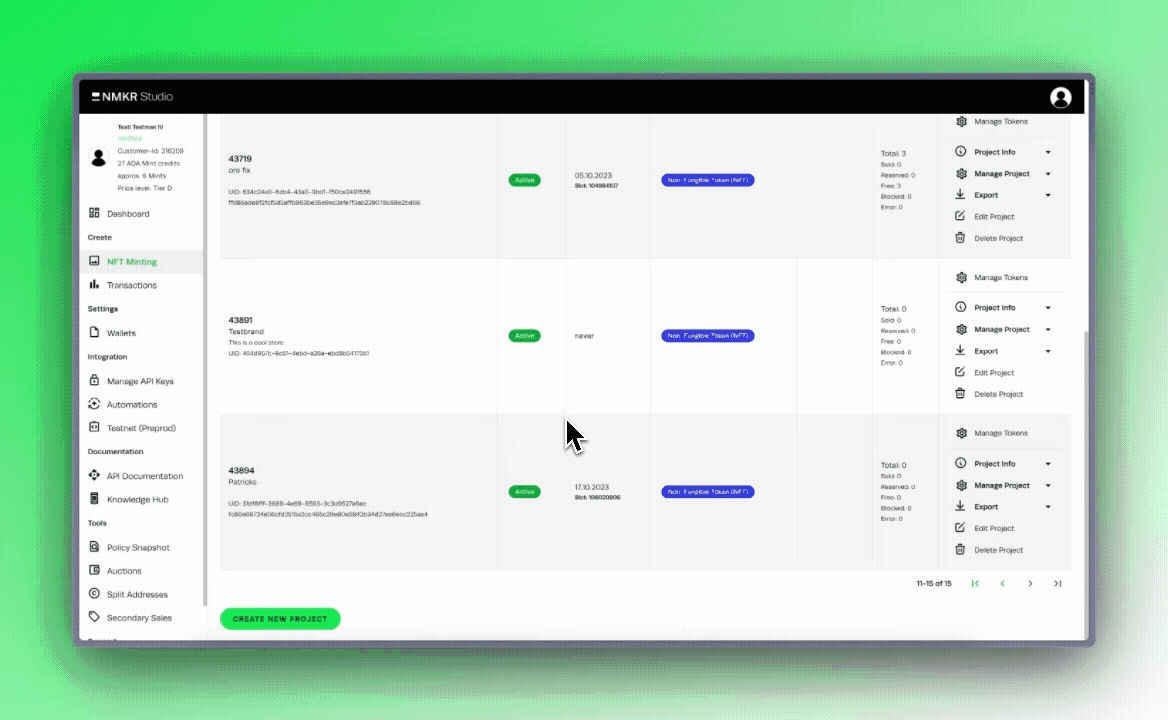
Upload a single token to your project
To start the uploading process of a single tokens please go to the Manage NFTs tab of your newly created project and click "Upload & Pin new NFT".

The following window is separated in three main tabs (Description, Files and Metadata override) and one optional tab (Placeholder Data) which only shows up if you specified any custom fields in your metadata template.

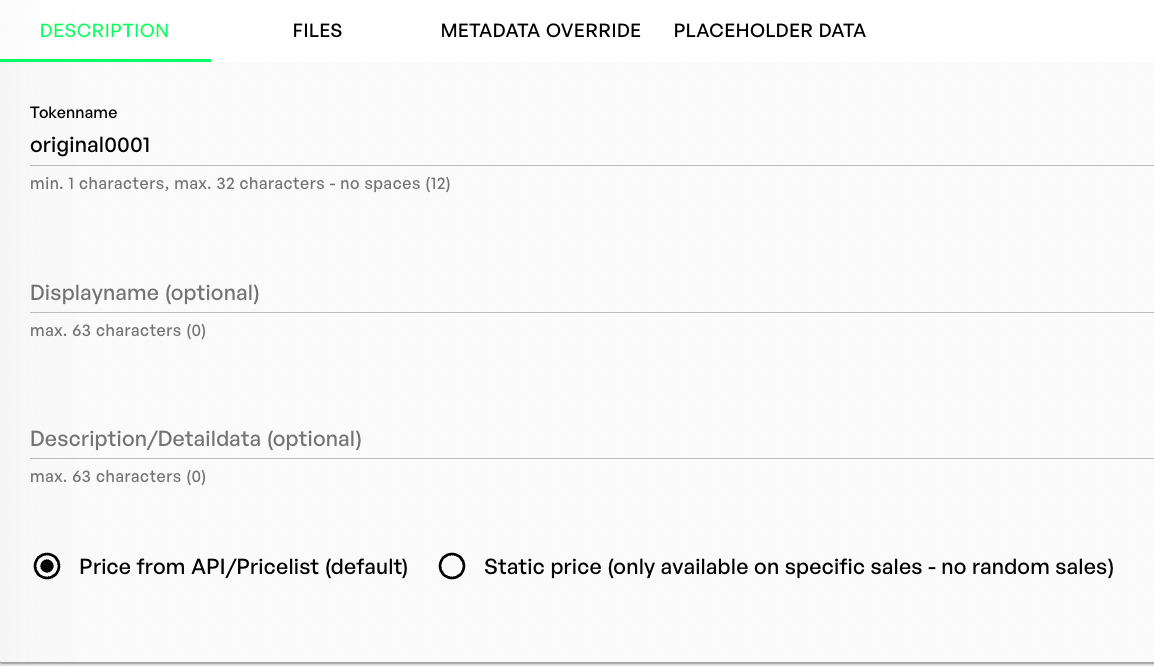
Description tab
The description tab is where you change the basic information about your token like the Tokenname, the Displayname(optional) and the description(optional). The Tokenname is related to the asset_name in your metadata and should be always matching. Therefore we also recommend to always use the <asset_name> placeholder if you use the Metadata override. It is not allowed to hold any special characters, also no spaces and is limited to 32 characters.
We recommend that the numbering of your tokens rarities are not related to the token numbers. If this needs to be the case, we recommend that the asset_name / token name of an asset does not correlate in any way with the display_name and is randomly generated. The reason for that is simple; if you are going to use MultiSig Payment in your project, the buyer could see the asset_name (not the display_name) in the transaction when he is signing the payment transaction. Therefore, a buyer could decide to cancel the transaction if he sees an "unrare number" and start over again.
The displayname is where you want to add special characters and longer names with up to 63 characters (e.g. Landplot #1011). This displayname, if given, will replace the tokenname on explorers like pool.pm. The display name replaces the <display_name> placeholder in your metadata template. The description will replace the <description> placeholder in your metadata template. It can also contain special characters and up to 63 characters. if you want to have the same description for all the tokens in your project, it makes sense to replace the <description> placeholder in the metadata template with hard values.
Files tab
The files tab of your token allows you to add files to your token, this can be all kind of file formats. But you have to keep in mind that the main file, always has to be an image or animated gif and different types of files have to be uploaded as subfile. The functions to submit IPFS hashes directly and upload files via URL are not supported in the current version of NMKR Studio (coming soon). If you want use external IPFS hashes of already uploaded and pinned files, please add them directly to your metadata in the metadata override or the metadata that you upload via SFTP.
Upload main file
To upload your main file simply click on the "Upload & Pin" button. This will open your file explorer where you are now able to select the desired file. The Mimetype will be selected automatically.
The main file must be an image or animated gif, because this file will be taken as thumbnail in wallets, explorers and on secondary merkats. It may make sense to upload a downscaled version here and the full scale version as subfile for a faster loading time on above mentioned platforms.
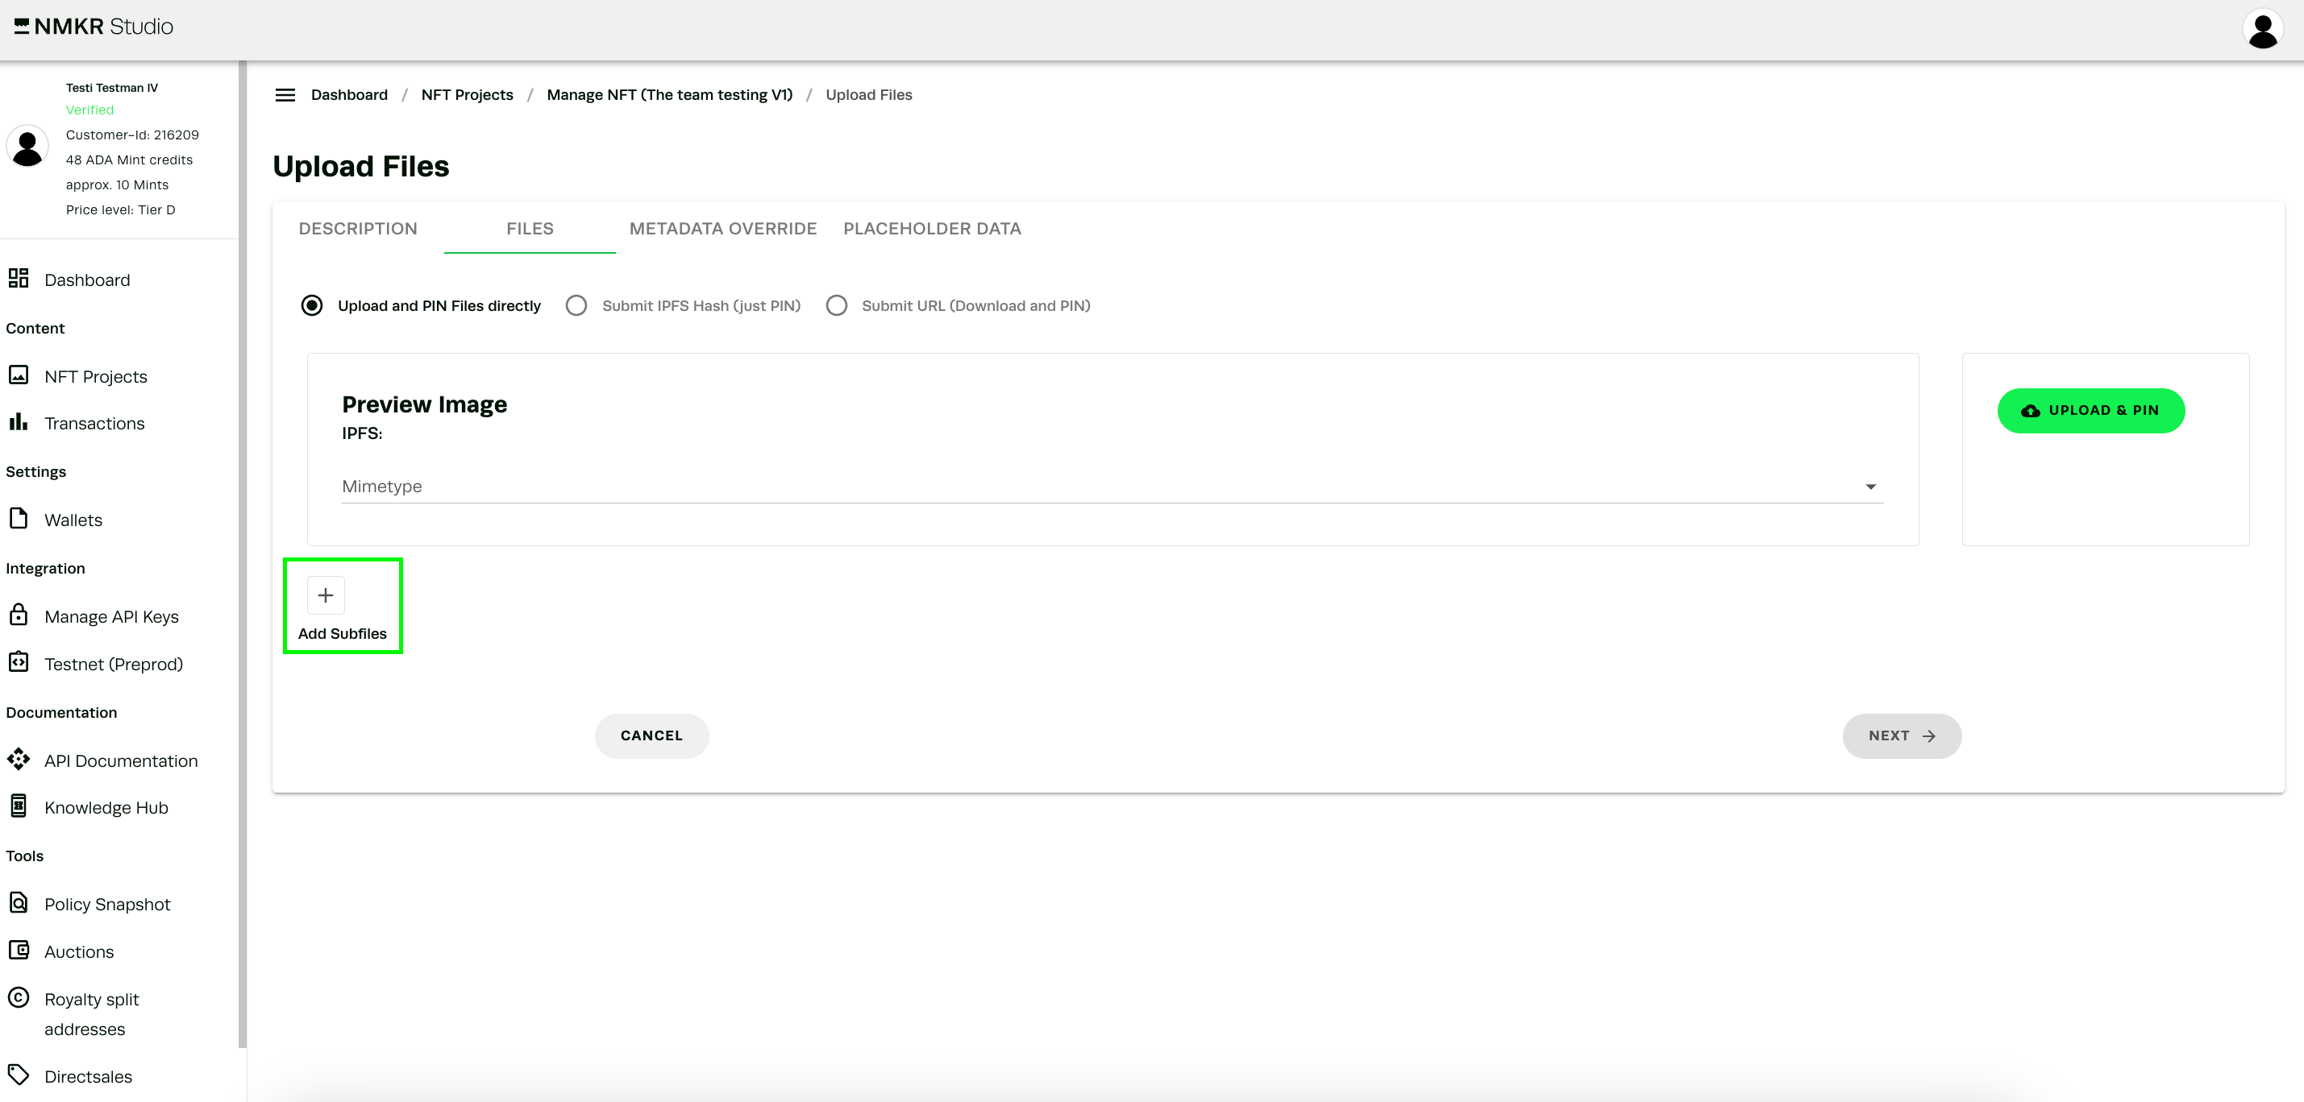
Upload Subfiles
Subfiles can be all kind of file formats like video, audio, text or application files.
Click the "Add Subfiles" button to add another file field where you want to "Upload & Pin" another file like in the first step of uploading a main file. Please note that some file types can't be shown as preview on the right side of the token, this is not an error.
You can specify a file name (max. 32 characters, no spaces or special characters) and detail data (63 characters) here to add more details to the subfile(optional). The detail data will only show up if you specify this field in your metadata template.
If you want to add multiple subfiles, repeat the last step.
Metadata override tab
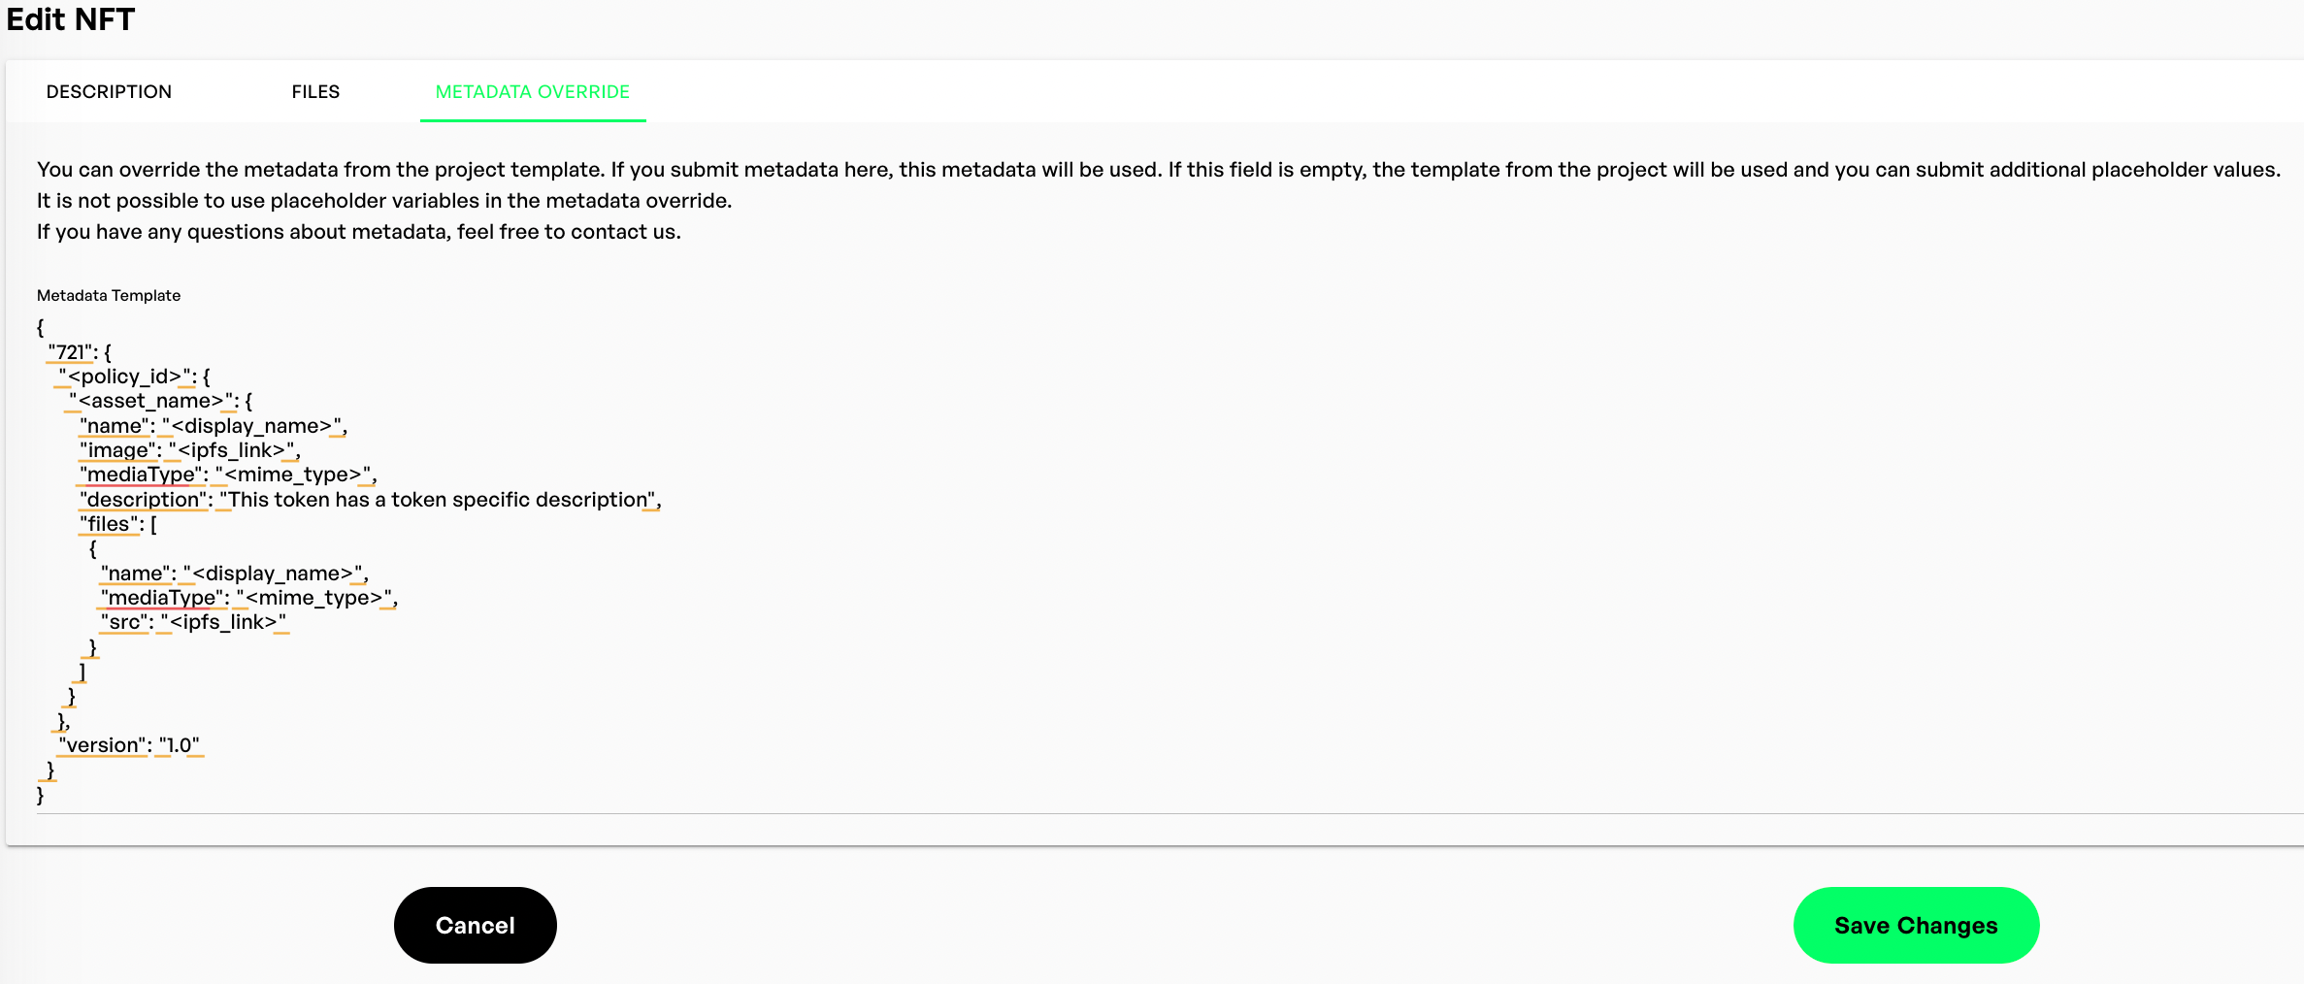
The Metadata Tab allows you to set token specific Metadata that does not use the Metadata Template.
It is important that the metadata added here is complete. It is recommended to use the <asset_name>, <display_name>, <policy_id>, <ipfs_link> and <mime_type> placeholders in there to make sure, that it has the correct values. However, if you want to add metadata that already contains the values for above mentioned placeholders, the metadata override tab is where you want to place them. An asset_name that differs from the token name in NMKR Studio will cause errors when minting. Also make sure to use strings (" ") and not only values. E.g. "traitcount": "12" would be correct. "traitcount: 12 would NOT be correct.
Add the complete metadata with "721" in the metadata override and click on "save changes". It is recommended to use the metadata check afterwards to identify eventual issues.
Add externally uploaded files via IPFS hash
You can add files to your token that were externally uploaded to IPFS. In order to do this, please just insert the IPFS hash directly to the metadata of your token, as you see in the example below. Don't forget to add the <mime_type> placeholder to have the correct file format fetched.
Placeholder Data Tab
The placeholder tab will only show up if you added any custom fields to your metadata template. You are now able to specify the token-specific values via the user interface in the Placeholder Data Tab of each single token that is uploaded to the project.
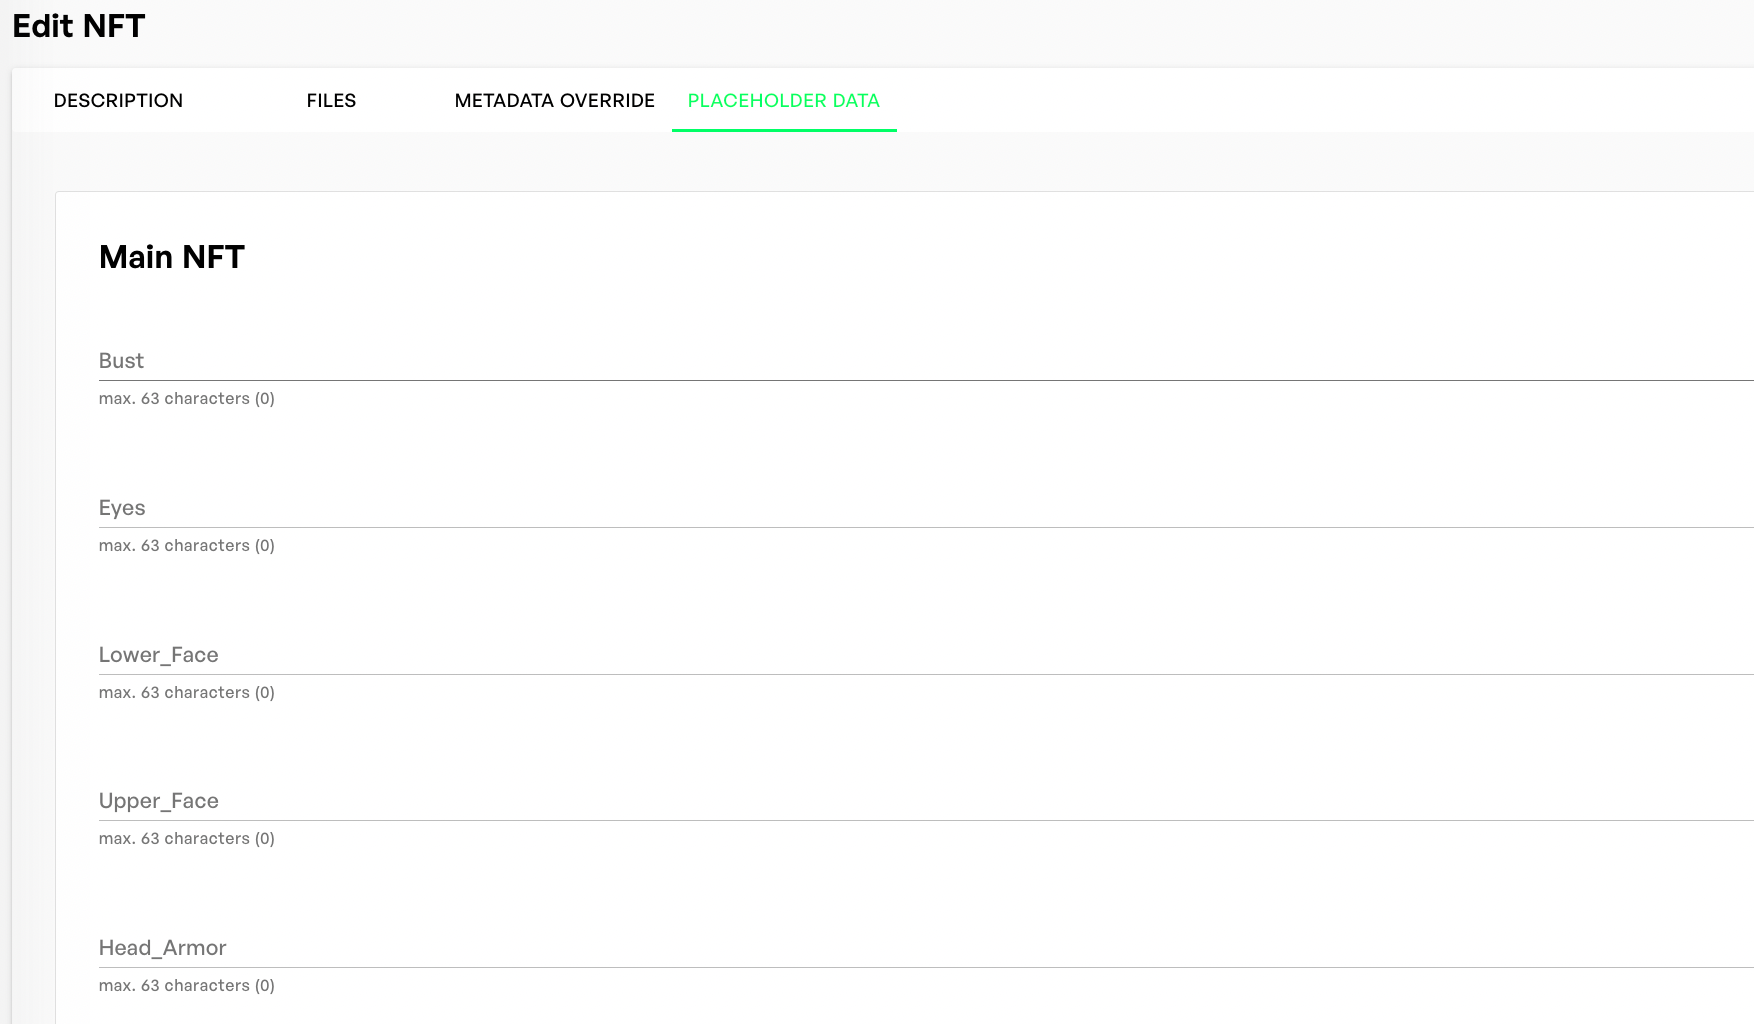
As this is obviously no suitable way to add metadata values to a higher number of tokens, please use any other bulk uploading method to bulk add metadata to your tokens. The easiest for people without much coding experience should be the placeholder.csv method.